While I haven’t been properly trained in the art of photography, I have plenty of time to experiment and improve my skills while on the road. I certainly have a long way to go but I’ve noticed some improvement over the past few years, mainly from trial and error. That being said, my knowledge is limited which is why I’ve decided to bring in a pro to fill in the gaps. Here are 10 tips from photographer Harv Greenberg to implement on your next vacation.
1) Compose Landscape Photos
A great landscape often fall flat on photographs because the viewer doesn’t get a sense of being there. In order give the necessary three dimensionality, include a strong foreground element like a beautiful flower or an unusual rock formation. Having an interesting background element is equally important and might include white cumulus clouds dotting a fabulous blue sky or an amazing violet sunset.
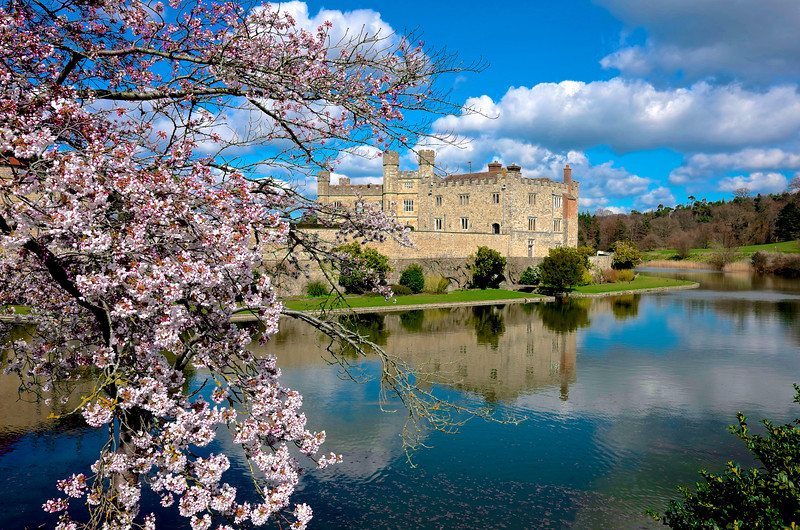
“English Grandeur” – Leeds Castle – Kent, England.
2) Perspective is key
Often times the best angle to photograph your subject is not standing over it, but crouching down and shooting at their eye level. On a recent trip to Antarctica I saw a group of people towering over a single penguin. The best way to capture small wildlife is to either lie on your stomach or kneel down so that your camera lens is closer to their eye level.
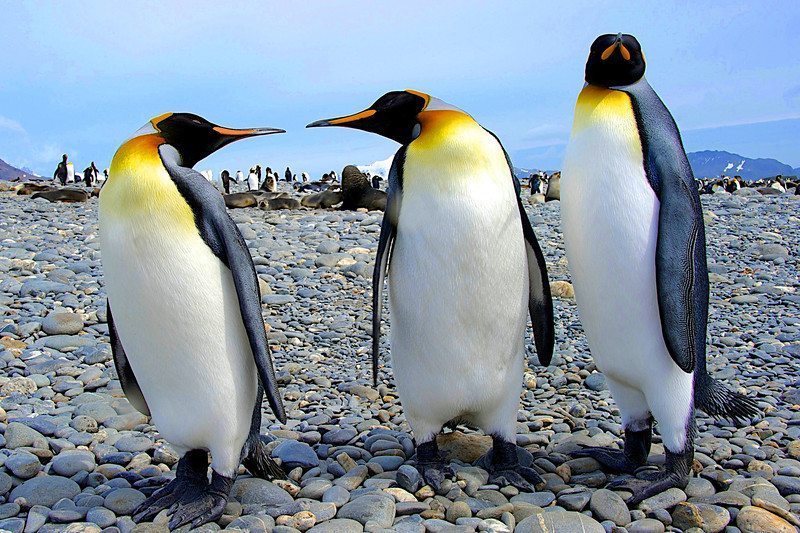
“Three’s a Crowd” – King penguins on the South Georgia Island near Antarctica.
3) Photographing the sky
When the sky is ablaze at sunset or sunrise, only a sliver of land is necessary to provide the viewer with the proper orientation. On days when the sky is a brilliant shade of blue and there’s a complete absence of clouds, include as little of the sky as possible as a cloudless sky looks quite dull in a photograph.
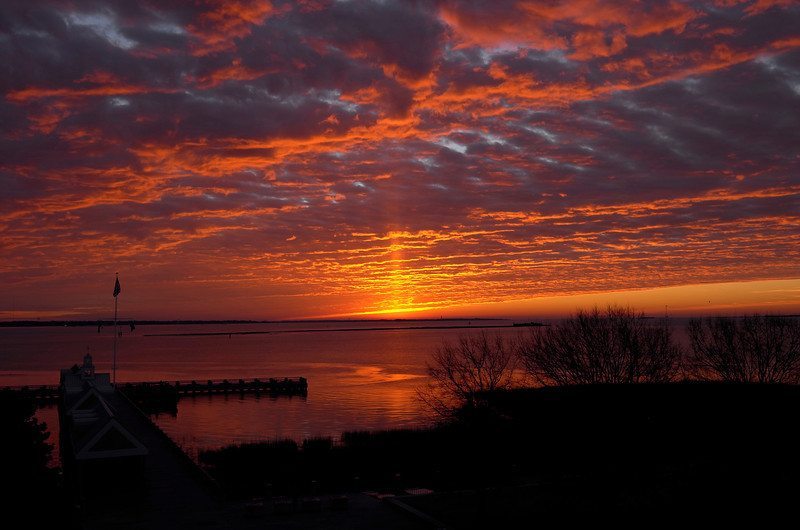
“Fire in the Sky” – Sunrise at Charleston Harbor – South Carolina.
4) Bring along the proper lens
In my experience the most versatile zoom lens to shoot photographs while on vacation is a 24 – 70 mm or other mid-range zoom that allows you to go from a medium wide angle to shooting portraits of the family and locals.

Amazon River native – Peru.
5) Become familiar with your camera before you leave on vacation
For you new digital SLR users, it’s essential to learn about aperture and shutter priority modes, ISO selection and exposure compensation. If you just purchased your first compact camera, focusing on learning about scene selection modes will serve you best. There’s nothing more frustrating than missing that once in a lifetime sunset because you weren’t able to dial in the proper settings on the camera.
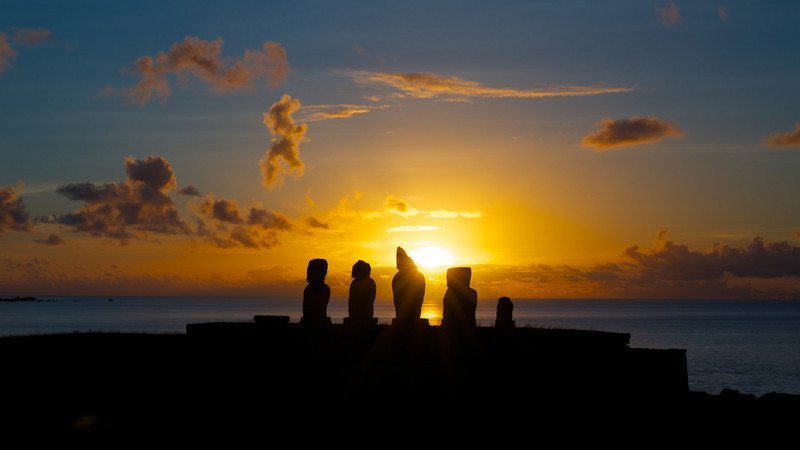
“Tahai Sunset” – Easter Island – Chile.
6) The rule of thirds in landscape photography
This “rule” stems from the theory that the human eye will gravitate to intersection points when a photograph is divided into thirds. Divide your composition into thirds by creating two imaginary horizontal and two vertical lines thereby creating a tic tac toe matrix. Important elements of your photograph should be placed on or near the imaginary lines and where they intersect. In practice, if you’re shooting a landscape and the focus is the land (i.e. mountains), the horizon should be placed along the upper third while if the focus is on the sky (i.e. sunrise), the horizon should be placed along the lower third of the composition.

“Sunday Morning” – The Ocean Course – Kiawah Island.
7) Try shooting in black and white
When the clouds conspire on your vacation and all you see is gray outside, it’s the perfect time to shoot in black and white. The soft light will give you silky transitions. Look for unusual shapes and shadows to include in your composition. A host of structural elements can add texture to your photographs like wood, stone, metal or sand.
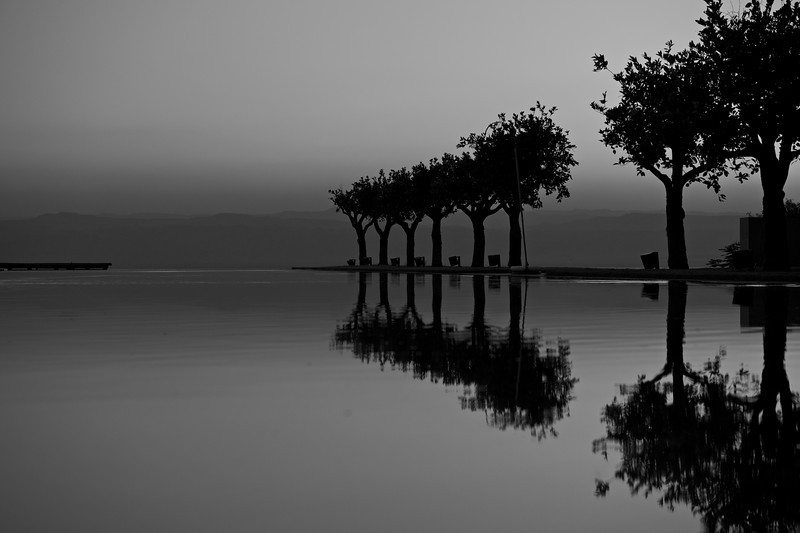
“Floating Serenity” – The Dead Sea – Jordan.
8) Maximize your depth of field
To ensure that as much of your subject is in focus, select a small aperture setting (large number) since the smaller your aperture the greater your depth of field. It’s important to keep in mind that smaller apertures mean less light is hitting your camera’s sensor so you may have to increase your ISO sensitivity. I typically shoot with apertures between f/14 and f/22 and ISO values between 100 and 400.
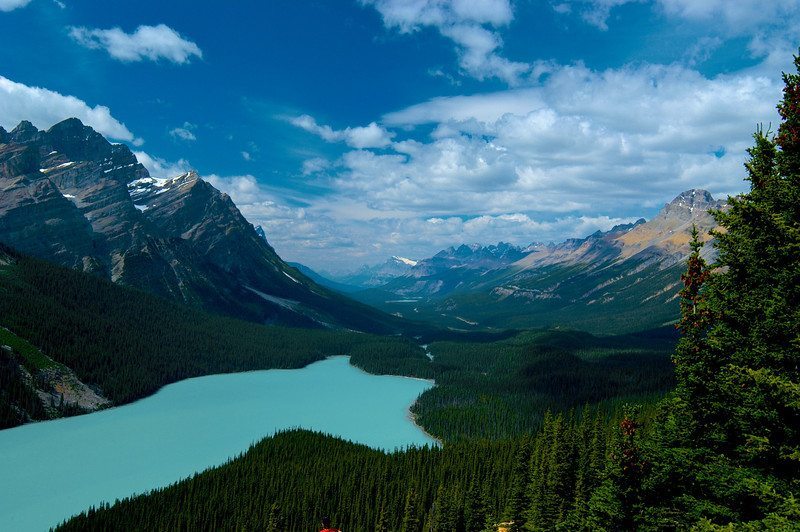
“Serenity Valley” – Peyto Lake – Banff, Canada.
9) Find a focal point for your photograph
All shots needs a focal point to avoid looking empty. Without one, your photos will leave your viewer’s eyes wandering with no place to rest. Focal points can take any number of shapes and sizes from mountains and wildlife to flowers and bridges.
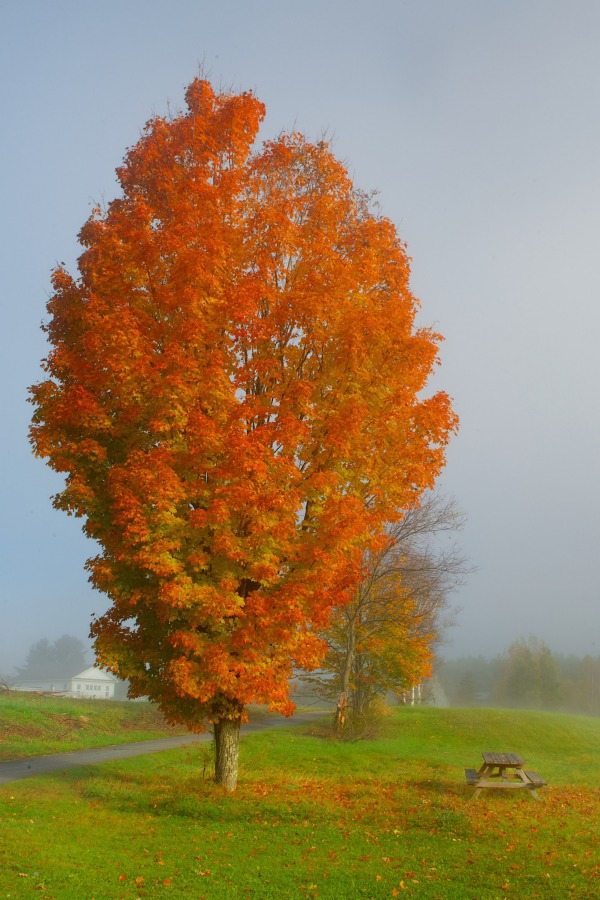
“Morning’s First Light” – Stowe, Vermont
10) Capturing movement
Few landscapes are completely still and capturing movement in your photographs will add a sense of drama and a dynamic quality that will add to your viewer’s interest. Capturing the movement of a of a babbling brook often requires a shutter speed of 1 or 2 seconds. The prolonged exposure means that more light is reaching your camera’s sensor so you will likely need to use a smaller aperture and/or a filter to reduce the amount of light and prevent over exposure.
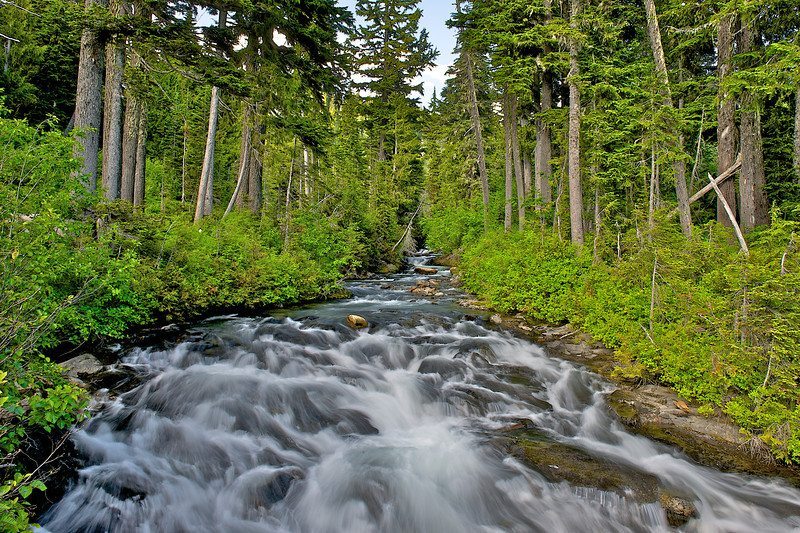
“The Whispering Stream” – Mt. Rainier National Park – Washington State.
Harv Greenberg is a radiologist by profession and a photographer and world traveler by passion.

Megan Eileen McDonough is writer, blogger and social media specialist based in New York City. She also runs Bohemian Trails, a lifestyle blog designed for the savvy and stylish traveler. Bohemian Trails aims to feature must-see places around the world, covering everything from revamped neighborhoods and vibrant street art to innovative tech hubs and everything in between. Her cultural escapades have taken her to Latin America, Asia, Europe, and the Middle East.
Megan is also a freelance writer and social media specialist based in New York City. She contributes to various online and print publications in the travel and fashion industries and is an international correspondent for both Jetsetter and Northstar Travel Media.


