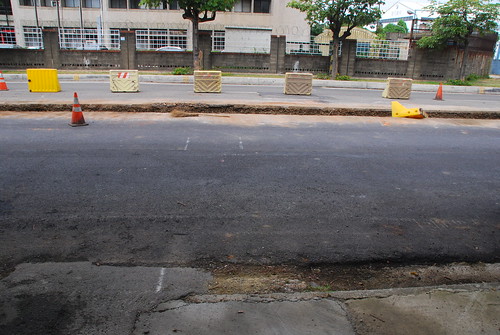
Recently more work went on behind our house and on the main roads in the area. This time, the traffic island was jack-hammered to pieces, removed and replaced. I have no idea what was wrong with the old traffic island and why it needed to be replaced, but I was fascinated to see how fast the new island was created.
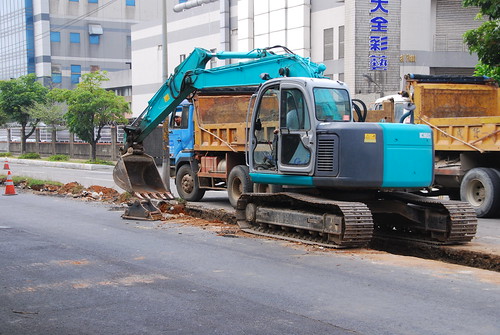
Here we see debris from the old traffic island being removed….
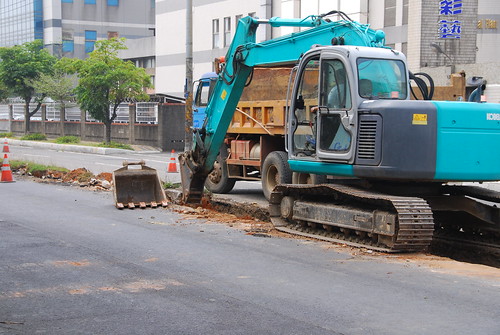
The backhoe changed tools and is now digging the trench, clearing it of concrete debris from the old island.
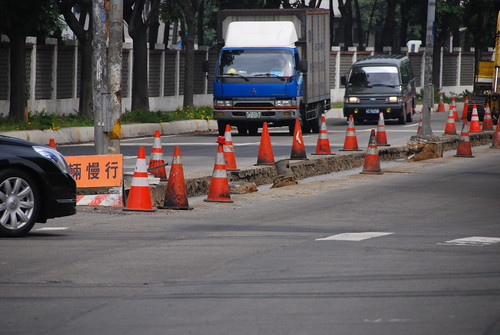
The entire main road got this treatment.
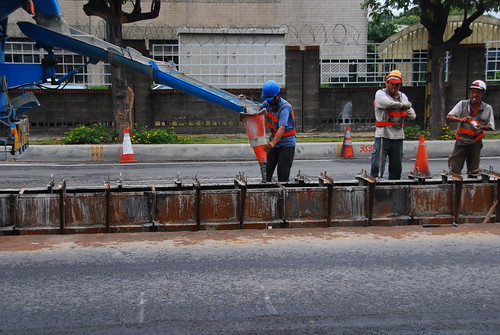
A couple of days later, concrete forms were assembled and concrete was poured into the molds. Yes, we are actually seeing a traffic cone being used as a funnel!
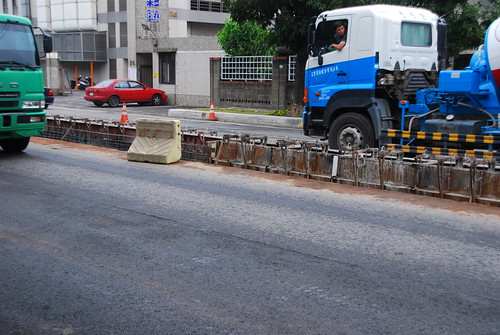
More mold forms.
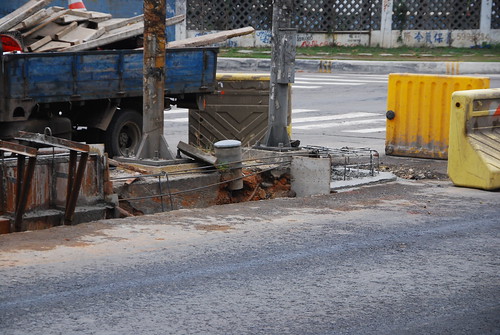
This is the end, or nose of the island. These get formed last.
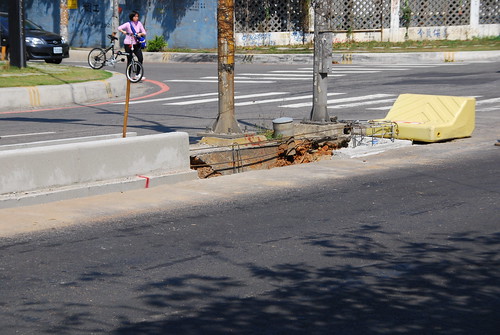
Notice the new, smooth concrete, recently poured.
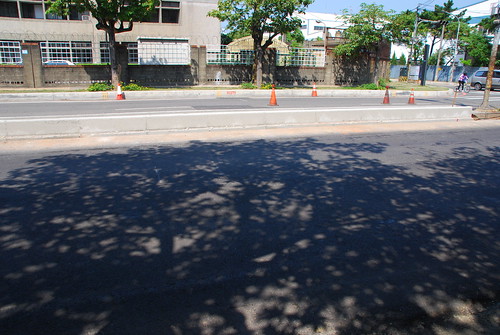
The new island sure does look good.
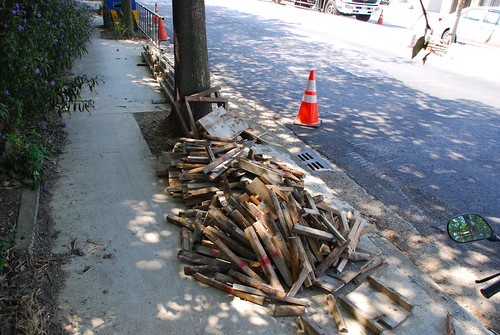
On the sidewalk are pieces of wood that (I assume) were used as shims in the form assembly procedure.
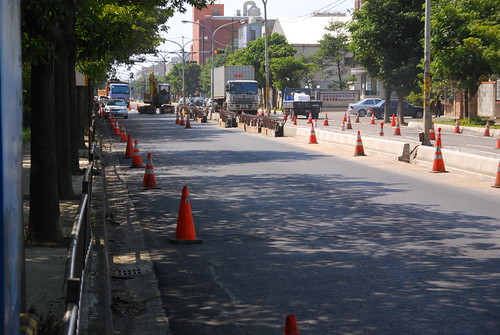
One side of the road was shut down during certain operations.
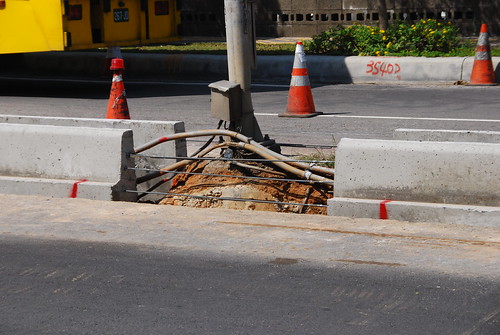
The junctions where light poles occurred were also left for later.
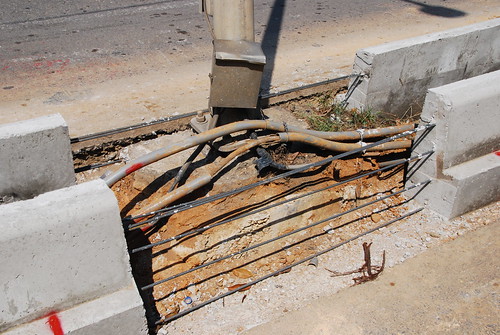
Notice the reinforcing bars (buried in the concrete, foreground) and the wire conduits in the center. At first, I thought that the city was running new cabling in the islands, but I didn’t see anything new being laid.
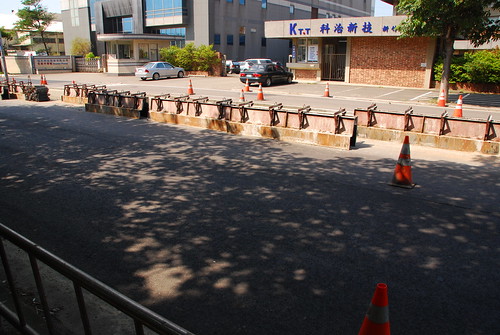
This section was recently poured and the forms are being removed.
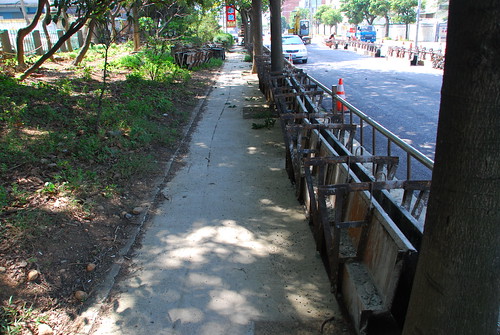
Concrete forms on the sidewalk.
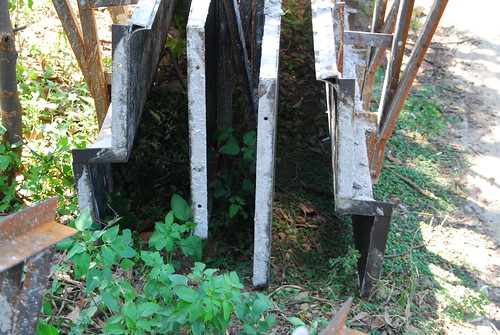
If you look at the ends of the concrete forms you can see the general shape of the island.
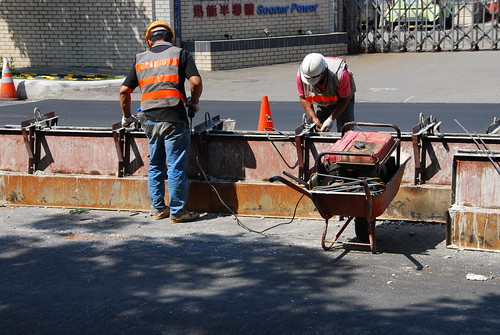
These men are removing the forms from a recently poured section..
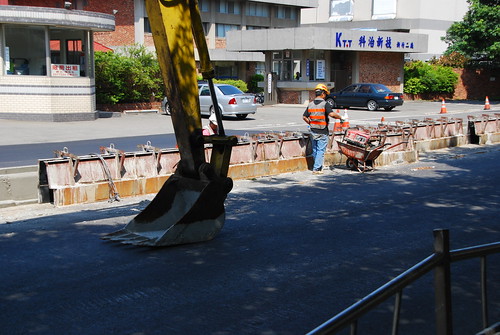
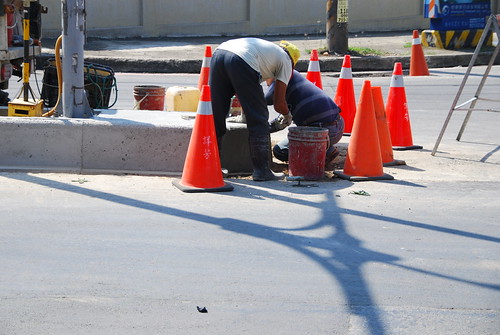
I turned the corner and observed the actions on a side street. These men are surfacing a nose.
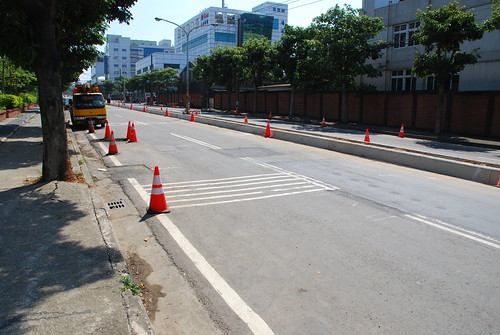
This is the section behind the nose in the above photo. This section is almost finished.
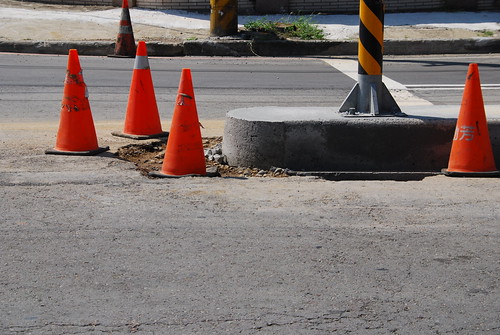
The nose at the opposite end.
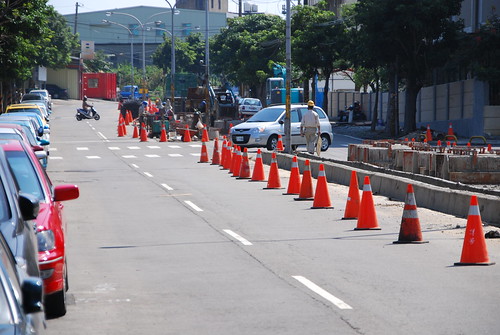
I went further down the road to see the operations on a new section.
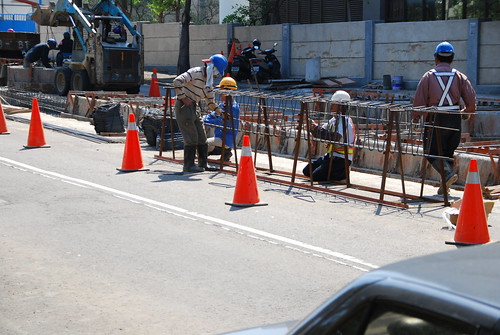
These men are assembling a rebar “cage.” We’ll get back to this in a minute.
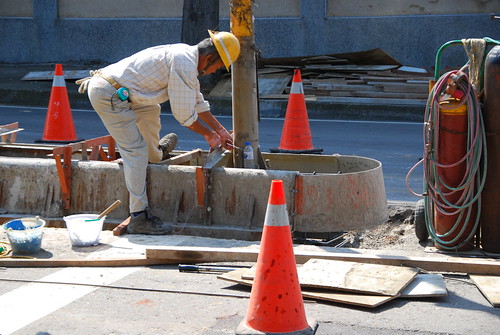
Meanwhile, this man is assembling the concrete form for the nose of the island.
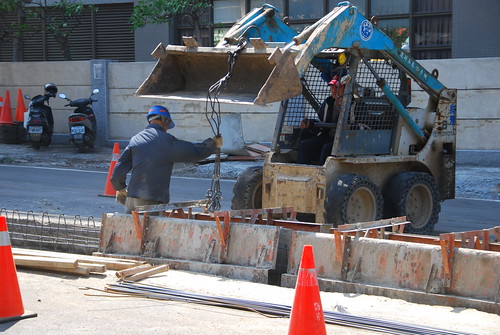
A small bulldozer is used to pick up and carry the forms while being positioned into place.
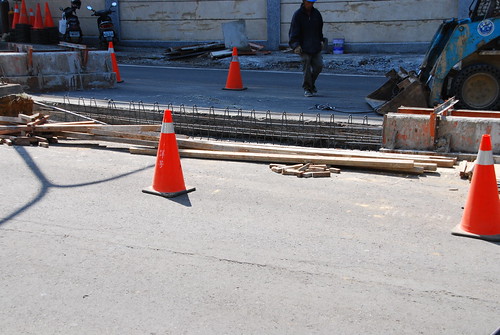
This shows a section that has the rebar cage ready, with forms being installed left-to-right.
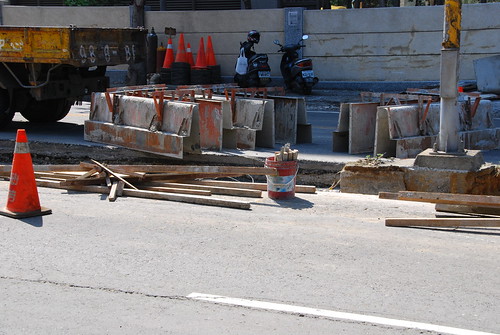
Forms waiting placement.
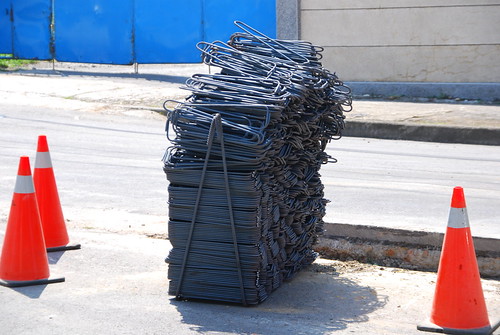
This is a pile of rebar used to make the cage.
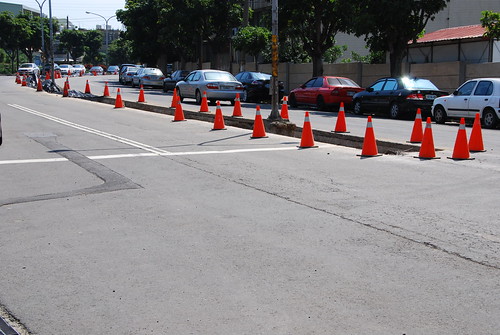
While it looks like there is a lot more to be done, this work went along very quickly.
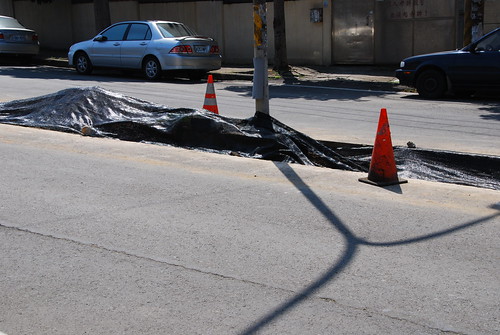
The trench was covered up while waiting further work.
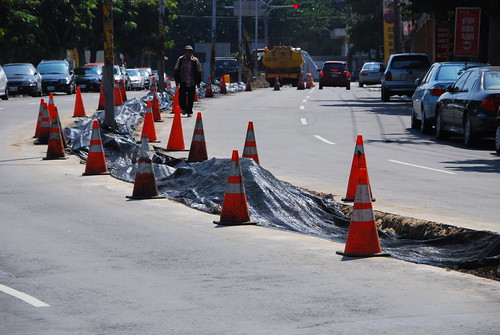
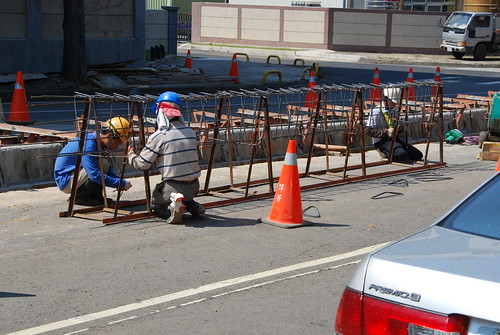
Now for the details about this wire rebar cage being built. Notice the angle-iron frame that is being used as a form to shape the cage.
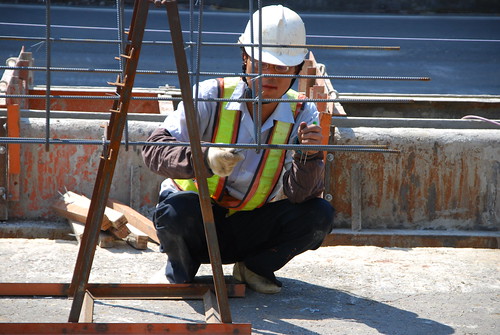
This is how the cage is assembled: by using small wires that are twisted around the rebar pieces to hold them in position. Once finished, the cage is lifted off the angle-iron form and placed in the trench. The cage will be embedded in the poured concrete and will give it the necessary strength and flexibility.
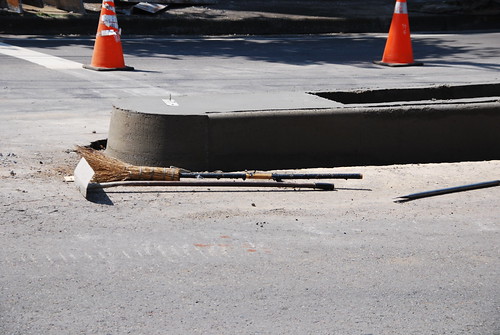
Our last shot is a finished nose.

Former field engineer MJ Klein now lives in Taiwan, and writes articles that primarily feature photographs of travels of MJ and wife Hui-chen, plus daily goings on in the bustling island nation of Taiwan, and other places in Asia. Articles feature people, culture, food, situations and sometimes the trials and tribulations of traveling in places such as China, Hong Kong, Thailand, Laos and of course Taiwan.


